Blur Photo Online
How to Blur a Photo Online with AI
The AI photo blur is now available on MockoFun. This NEW feature is available for premium users.
How it works? The AI blur background uses the AI remove background technology and the blur filter to create this artistic effect.
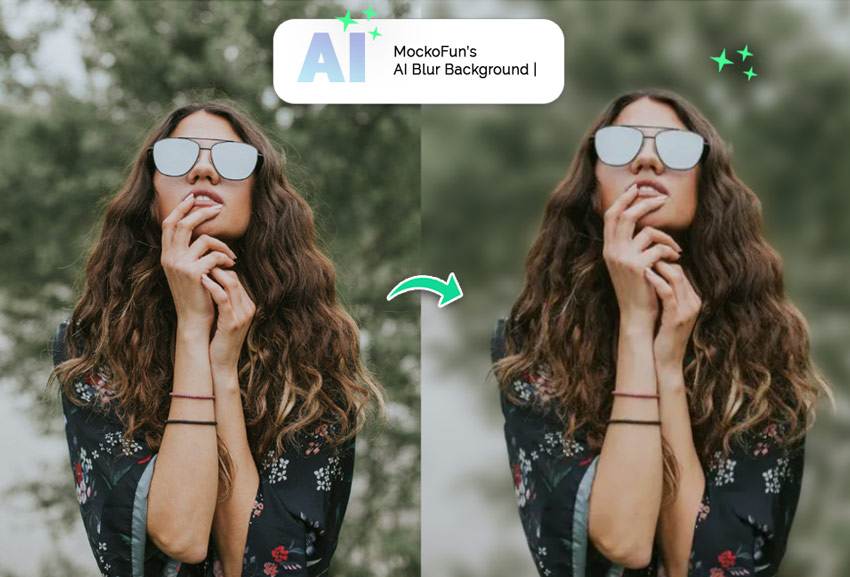
First, Upload your picture. Then go to the AI Assistant on the top menu and choose the AI Blur Background option. The AI automatically selects the subject (person, animal) and blurs the background.
How to Blur My Photo Using Smart Filters
Do you want to blur photo online free? Use our free photo blur editor!
Use MockoFun’s online blur photo editor to blur background quick and easy in just a few steps. With MockoFun, you can blur pictures in so many creative ways using the Blur Filter. Let’s make photo blurry!
Photo editor blur background, blur photo, blur frame, blur text, blur edges, blur face, ….
The blur effect is such an useful effect if you want to highlight or to hide a certain element within a picture. Blurring an image is a popular among photographers and digital artists.
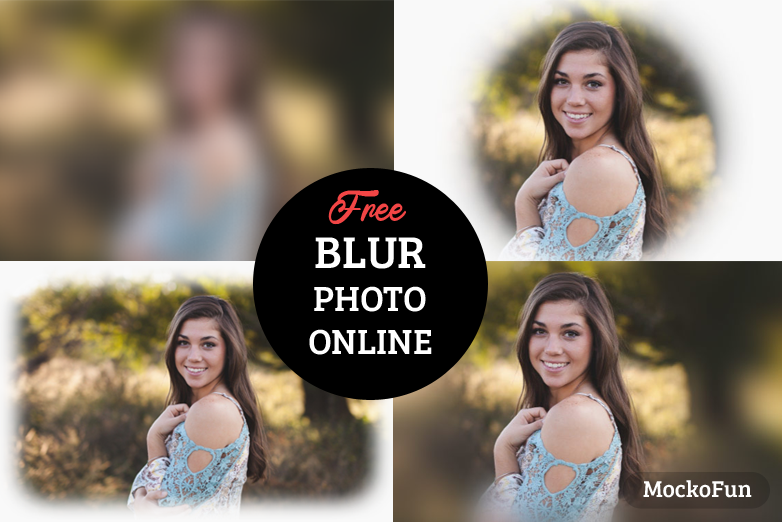
The MockoFun’s blur tool online is great for making blur in post-production. Add a shallow depth of field and other blurry effects like tilt shift.
In this tutorial I will show you how to blur photos and how to use the Blur tool to give your images greater focus, making them more interesting. Our blurry photo editor is simple and you can make cool photo effects with it.
1. Blur Background Online
So, how to blur image online in just a few steps? First, open the MockoFun photo editor and create a new document. You can choose one of the document presets or you can choose a custom size.
On the left menu, click on the Elements tab and go to Photos to pick a picture from the gallery. If you want to use your own image, go to the Uploads tab from the left menu.
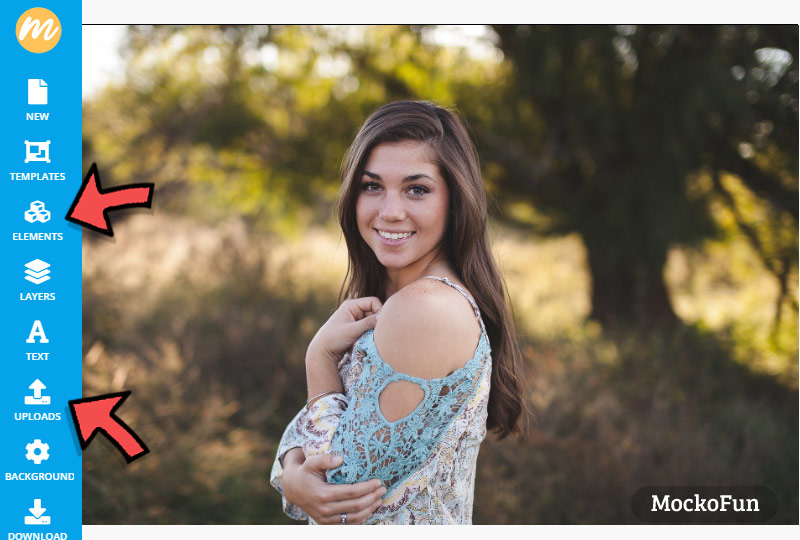
To blur photo, you can use the Blur filter. Go to the Filters from the top menu and click on the Blur Filter.
This filter is similar with the Photoshop Gaussian Blur filter. It’s a Gaussian Blur online tool. So, to blur the picture and to create a blur background, simply increase the Amount of the blur effect.
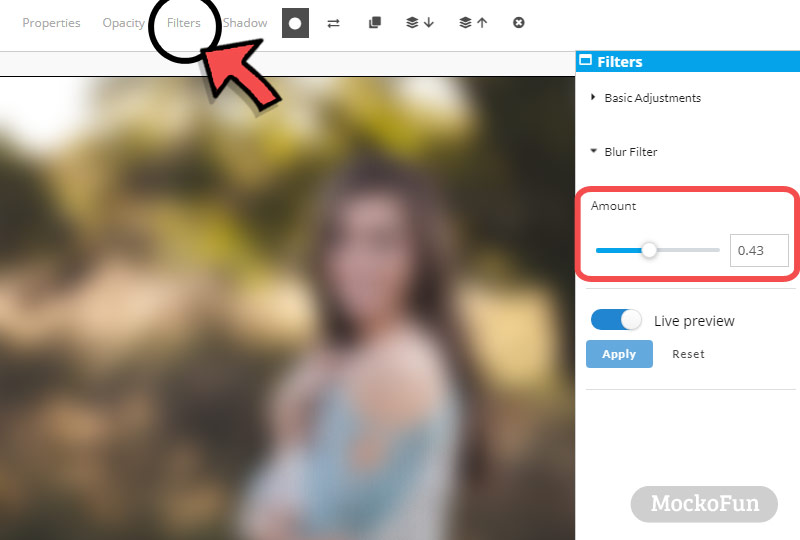
Tip: Turn on the Live Preview option to see the changes of the online blur effect in real time.
This is an easy way to blur background online free with the MockoFun photo editor. The Blur Filter is one of our free filters so you can use it for your pictures right now.
It’s so easy to make your own blur backgrounds in just a few seconds using the blur editor. Knowing how to blur background can help you create awesome blurry backgrounds.
A blurry background looks awesome as header for your website. You can also use a blurred background as a wallpaper. Blurry pictures are a great choice as a background for a logo.
2. Photo Blur (Blur Part of an Image)
In the first part of this tutorial, I used the Blur filter to create a simple blur background.
But, what if you want to blur only a certain element from a picture? So, let’s see how to blur part of an image with MockoFun.
First, you have to duplicate the photo. Make sure the photo has the Blur filter set to 0. Click on the Duplicate button to make a copy of the first photo layer.
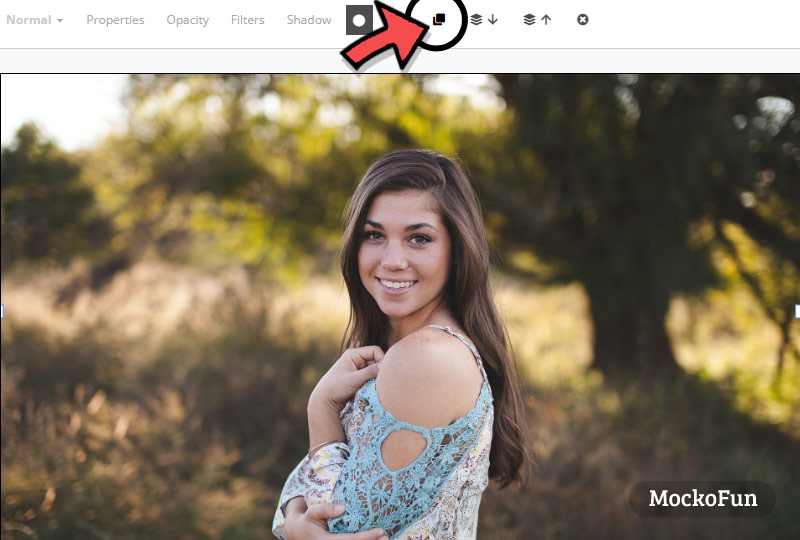
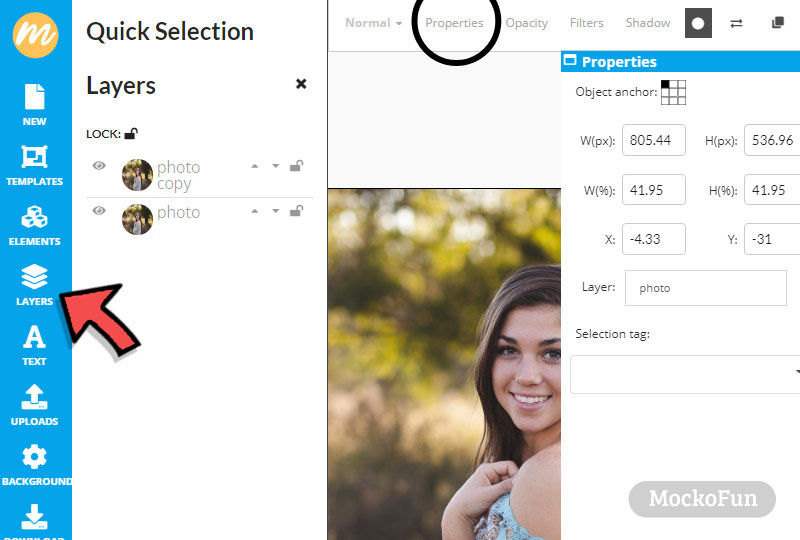
If you go to the Layers tab you will see two layers. Change the name of the layers using the Properties button from the top menu.
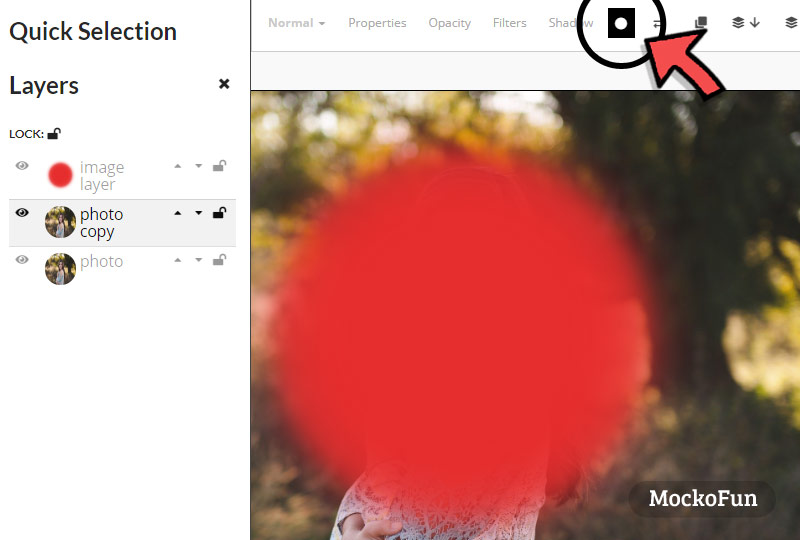
To blur only a part of the image, I will use a Mask. So, go to Elements > Frames > Vignette & Mask and add the Blur Circle Mask.
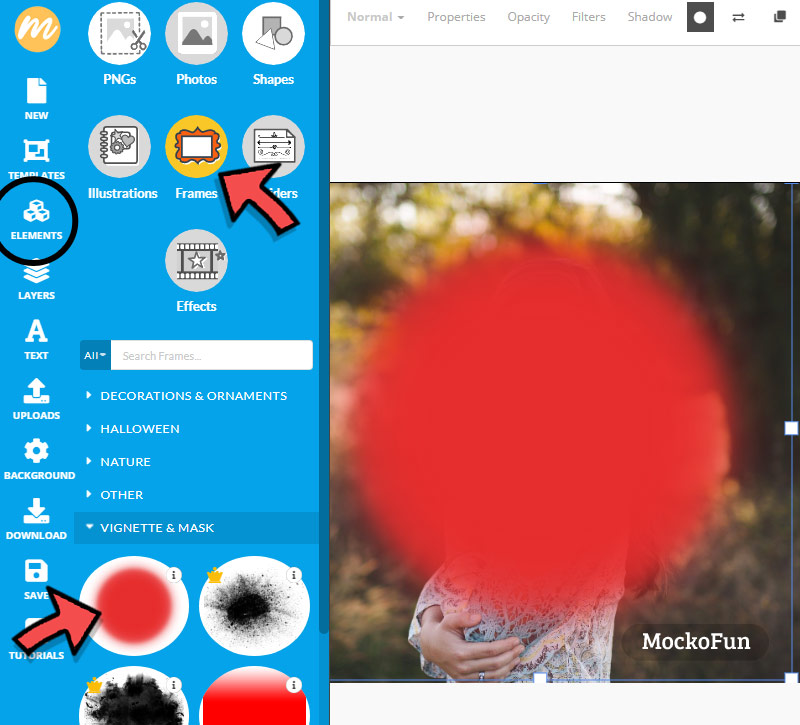
Click on the Photo copy layer to select it. Then, click on the Add Mask button and choose the Blur Circle as mask. (You can also use the Blur Rectangle)
Click on the Layers tab again to refresh and see the new layers with the mask and all.
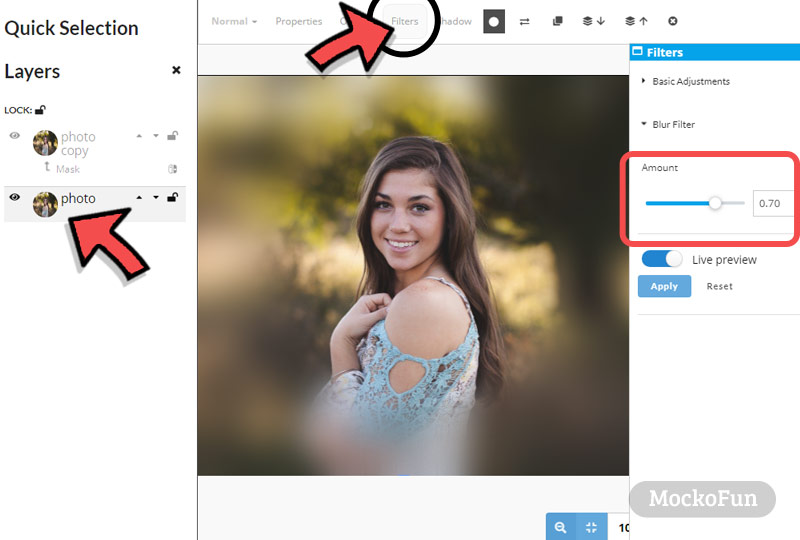
Go to the Photo layer and simply increase the Amount of the Blur Filter to see the blur effect.
Tip: It is better to lock the Photo layer and the Photo copy layer; click on the lock icon next to the layer. Also you can reduce the Opacity of the Blur Circle layer to 0.
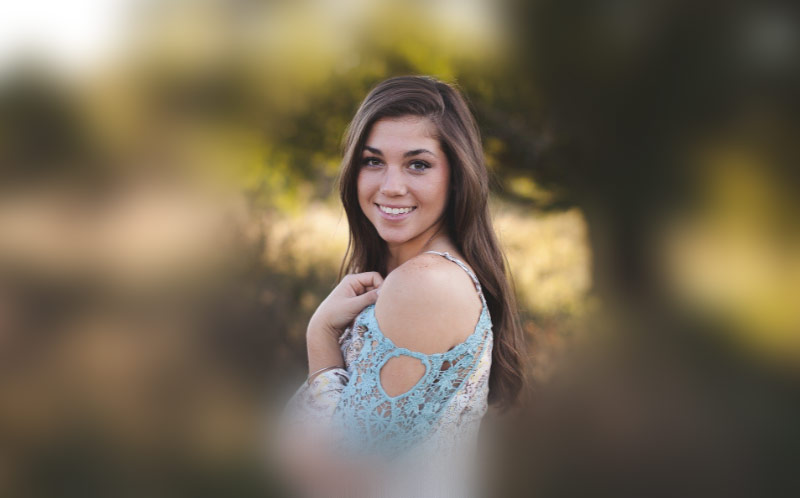
If you want, you can select and resize the Mask layer. You can also move the mask. This is the result of the blur part of an image effect.
3. Blur Edges Online
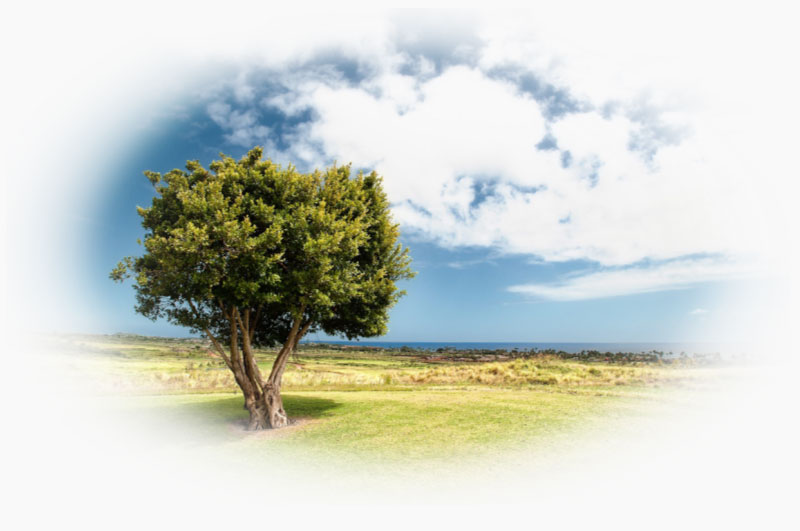
To create fade edges of photo effect, you blur the image and fade edges, then you simply hide the Photo layer. Click on the eye icon near the layer name to hide the layer.
By hiding the Photo layer, you create blur edges for your picture. By default the Background is set to transparent. So, you can Save the image as PNG with transparent background.
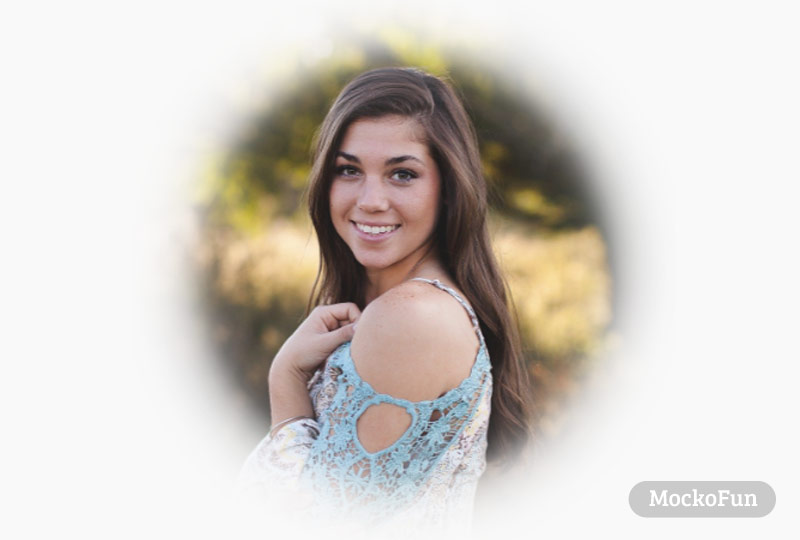
If you go to the Background tab from the left menu, you can add a color for the background or a pattern.
You can also choose another mask for your picture. For example you can use the Blur Circle Mask or the Blur Rectangle Mask from Elements > Frames > Vignette & Mask. You can blur edges online in just a few minutes.
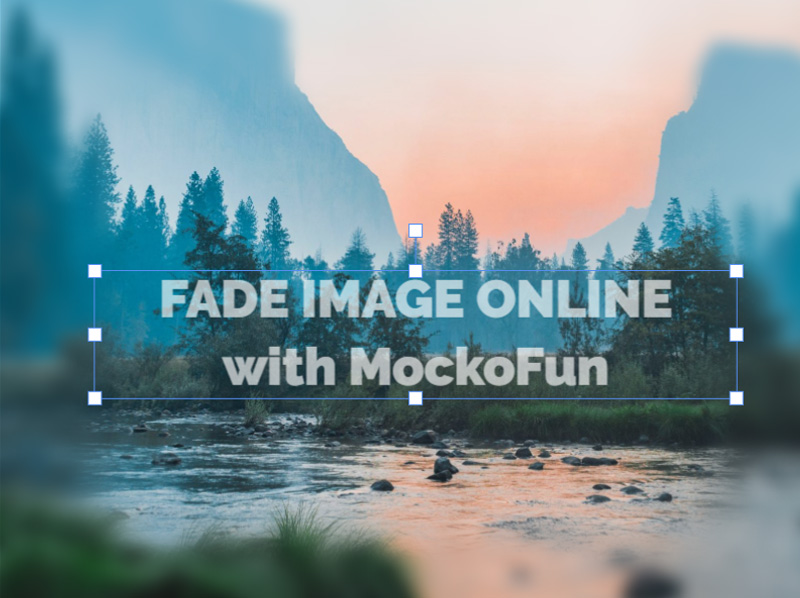
Fade image online with this easy to use online photo editor. The photo fade effect can be done by adding a transparent gradient mask from Elements > Frames > Vignette & Mask category.
Check out our tutorial about how to crop picture into circle online with MockoFun photo editor.
Another photo effect is the blur around image effect. To make this effect, simply use a Blur Rectangle Mask from Elements > Frames > Vignette & Mask.
4. Blur Face in a Picture
Now you know how to blur a picture. And in this step you will also learn how to blur faces.
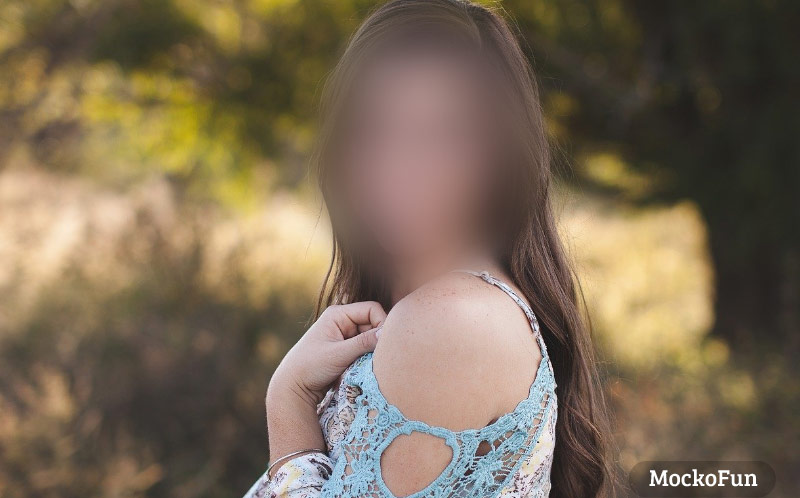
So, how to blur a face in a picture? You add a photo and make a copy of the photo. Then add the Blur circle as a Mask for the Photo copy layer. (The detailed process is described at Step 2). To blur face, use the Blur Filter for the Photo copy layer.
This is how you can blur face online like shown in the preview image below. In the same way you can blur object in photo by using this smart non-destructive filter.
The MockoFun’s blur tool is such a great online tool for photo editing and for blurring photos. To blur background online Photoshop is not necessary. The MockoFun’s advanced blur pic tool uses AI technology.
4. Blur Text in Image
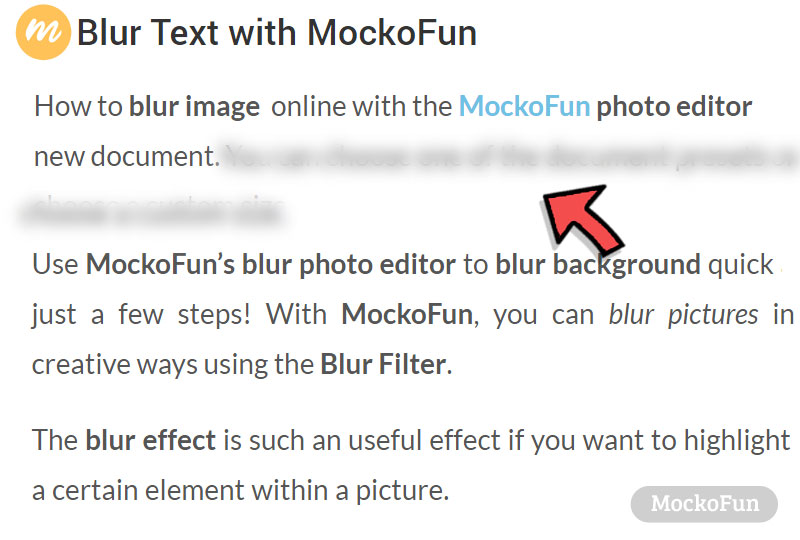
If you have an image with a text, you can blur text online really easy. Add your photo and make a copy of the photo. Then, add a Blur Rectangle Mask from Elements > Effects > Vignette & Mask. Resize the rectangle to cover the text that you want to hide. Then add the Rectangle as Mask for the Photo copy layer.
Tip: you can add more rectangle shapes to hide text lines. Select the rectangles (keep the Shift key pressed and click), then group them; use the Group button from the top menu.
And you can see the result below for the blur text in image:
5. Tilt Shift Effect
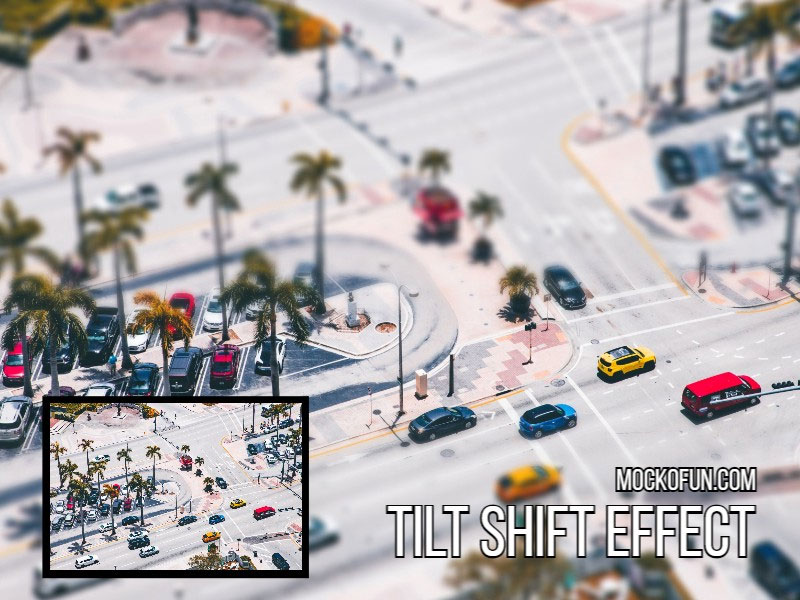
Tilt–shift photography is a type of photography in which the camera is used so that a life-sized location or subject looks like a miniature-scale model.
It’s essential to pick the right photo! Tilt-shift photography tends to work best for photos that have a wide view and are taken from higher ground. That doesn’t mean it has to be an aerial shot. Your photo has to look a little like a miniature model even before adding any transformation.
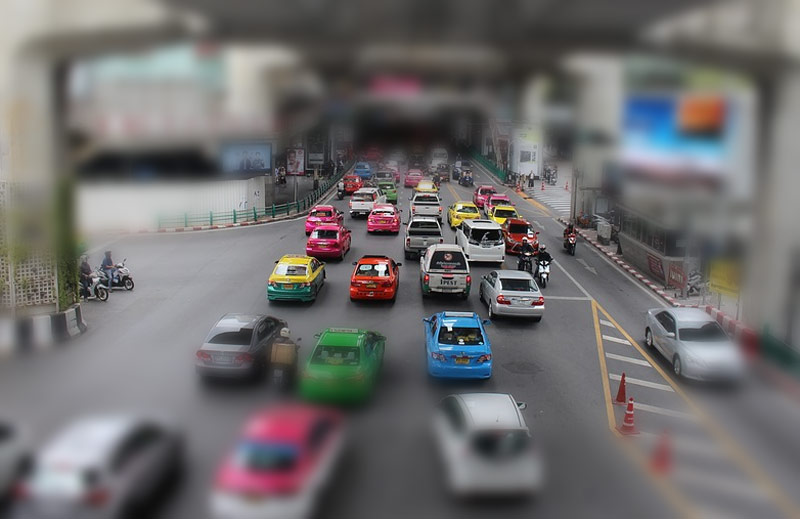
After choosing the photo, you can create a realistic tilt shift effect online with MockoFun. Use the Fade Gradient Mask (Elements > Frames > Vignette & Mask) and the Blur filter to create this effect.
6. Diffusion Filter
Though you can probably make this effects in any photo editors like Photoshop or Gimp, I will show you how to use MockoFun to add a soft focus filter to your images.
Applying a diffusion filter (also called soft focus filter) is how photographers get that dreamy image feel. I love this effect because the image will look like there’s a magical light glow.
You can get this effect in camera using a physical diffusion filter, or even by smearing vaseline or petroleum jelly on the lens. But that can get really messy, so let’s see how I made the effect above using MockoFun.
You can follow these steps on your own photo that can be easily uploaded in MockoFun.
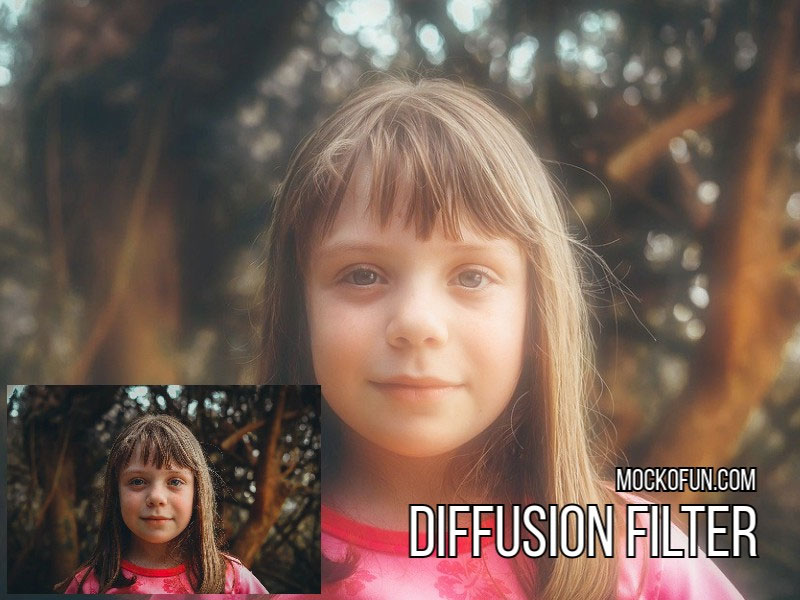
The diffusion filter creates a soft blurry effect. To make a soft focus filter effect, you duplicate the photo, apply the Screen blend mode, then blur the overlapping layer. You can control how much of the blurred image is added to the original image.
So, click the image and in the menu on the top click on the Duplicate button. This will create a copy of the image on top of the original image.
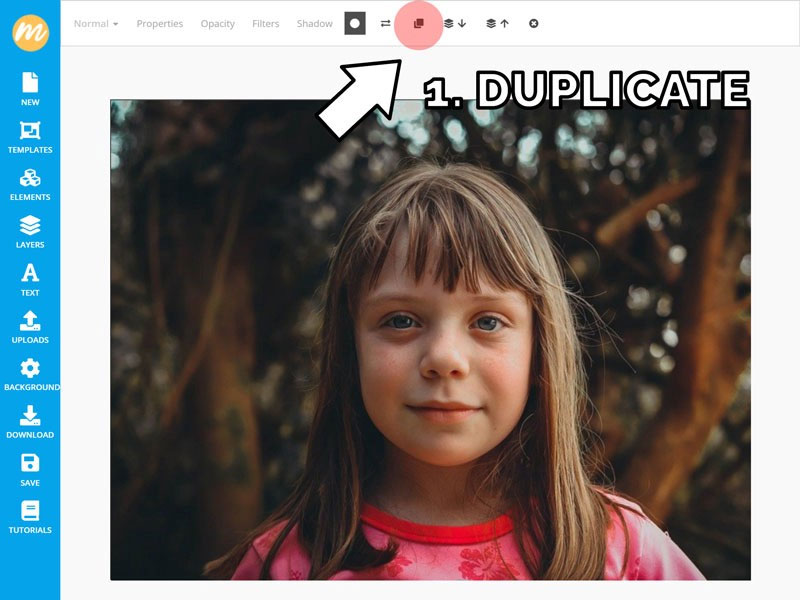
Use the Blur Filter to blur the copy of the image.
Among other things, MockoFun is a photo editor. When you select a photo you will get the Filters option in the top menu. That offers several filters, each image filter with its own options.
Choose the Blur filter and set the blur amount to 0.5. And that’s how you blur and image in MockoFun. We’re almost there with our diffusion filter effect.
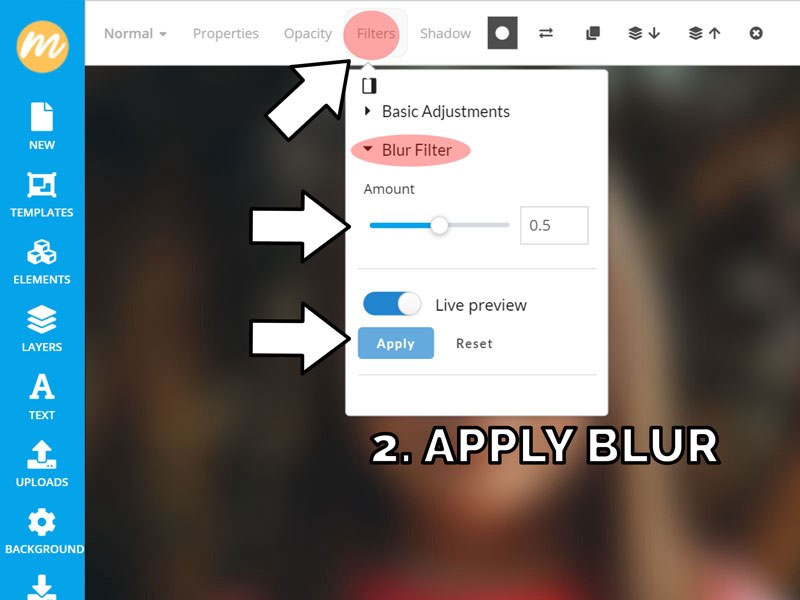
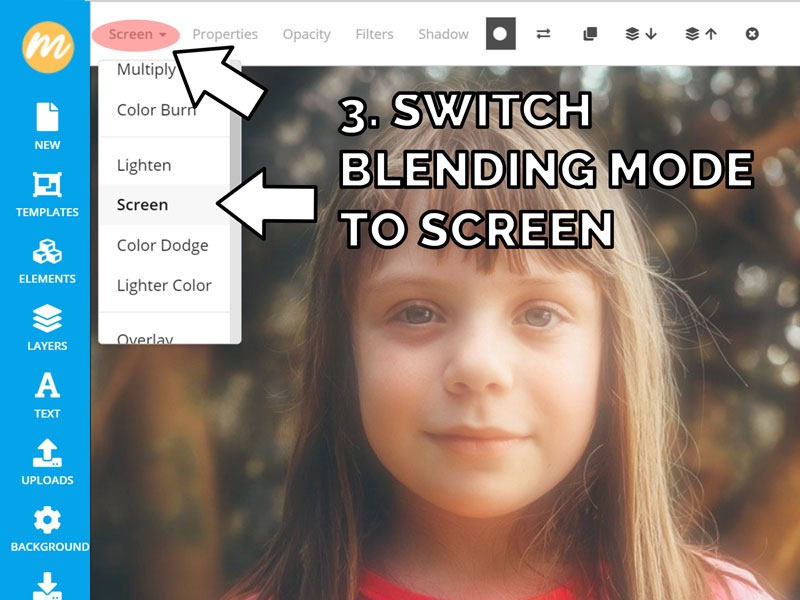
In the top menu, the first option is a drop down with various blending modes. This is similar to Photoshop and decides how the image on the top is combined with the images below.
Simply switch the blending mode to Screen and our soft focus or diffusion effect is complete. By setting the blend mode of the blurred image to Screen you create this soft blur effect.
– Photo editing blur background Photoshop online –
6. Blurred Photo Frame
So, MockoFun works great to blur a picture online. And, you can do much more like the square blur online photo effect.
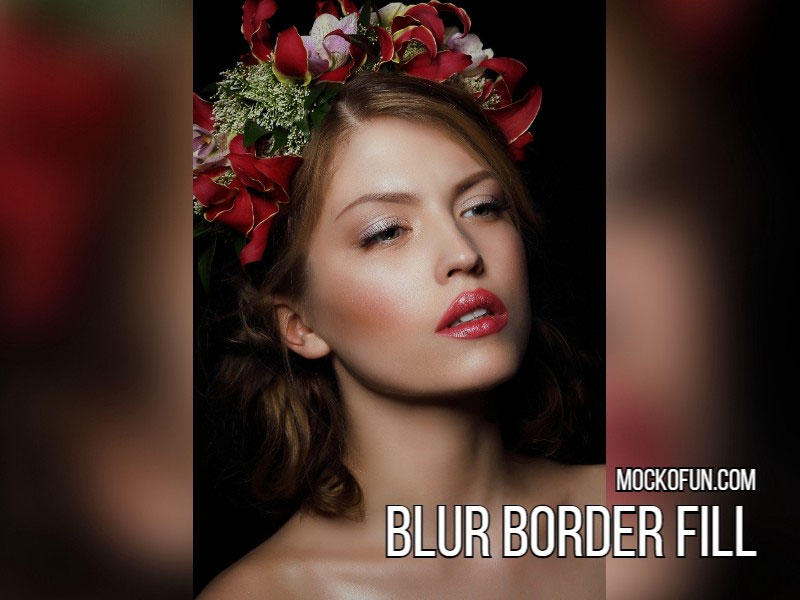
The blurred borders fill effect is a great effect to use when you need to fill a space that’s in landscape format with a photo that is in portrait format.
Instead of leaving some boring black or white stripes on the sides of the portrait photo, it’s so much more interesting to fill the borders with a blurred version of the original image.
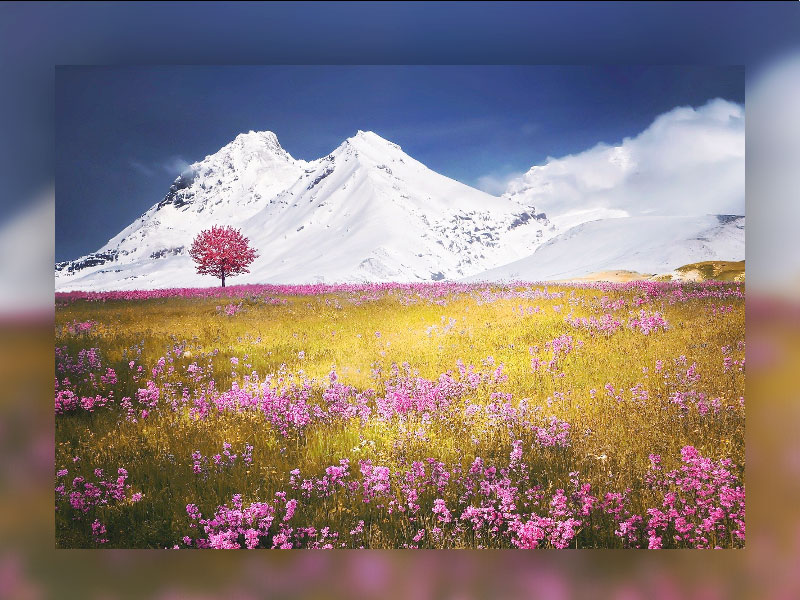
Adding a blur frame is quite easy! With this blur background photo editor online you can do so many creative photo effects. To create a blurred photo frame in MockoFun follow these steps:
- Duplicate the image
- Apply the Blur filter with an amount of 0.5
- Resize the blurred image and position it in the center such that the entire frame is covered
- Send the blurred image to the back, behind the original image to see the blurred border
7. Blur Text Online
With MockoFun you can also blur text online.
For this effect I used a text image and the NEW 👑 Zoom Blur filter which is one of our awesome premium filters.
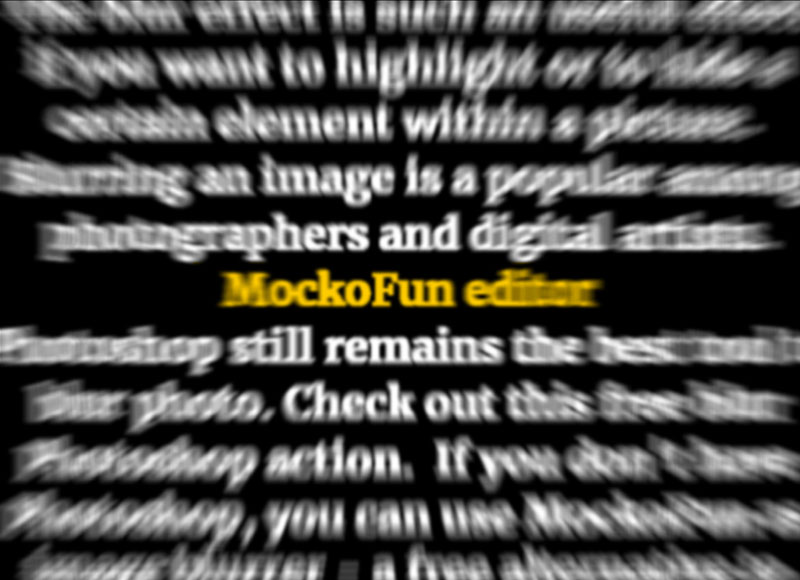
To blur text, first you write the text.
TIP: You know that with MockoFun you can add text styles or text effects like shadow, stroke, highlight, glow, etc. But for the zoom blur text effect it is better to use a text without text styles.
Next, press Shift+Control+E to rasterize the text. Finally, add the Zoom Blur filter to the raster text.

This blurred text effects is made using a text with a light color Shadow effect that looks like glow text effect. I rasterize the text and I added a Gaussian Blur filter not the Zoom Blur.
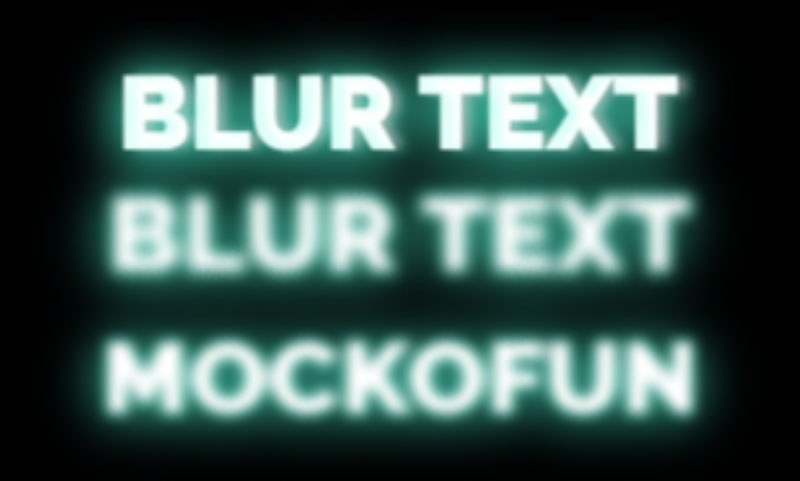
8. Zoom Blur & Radial Blur Online
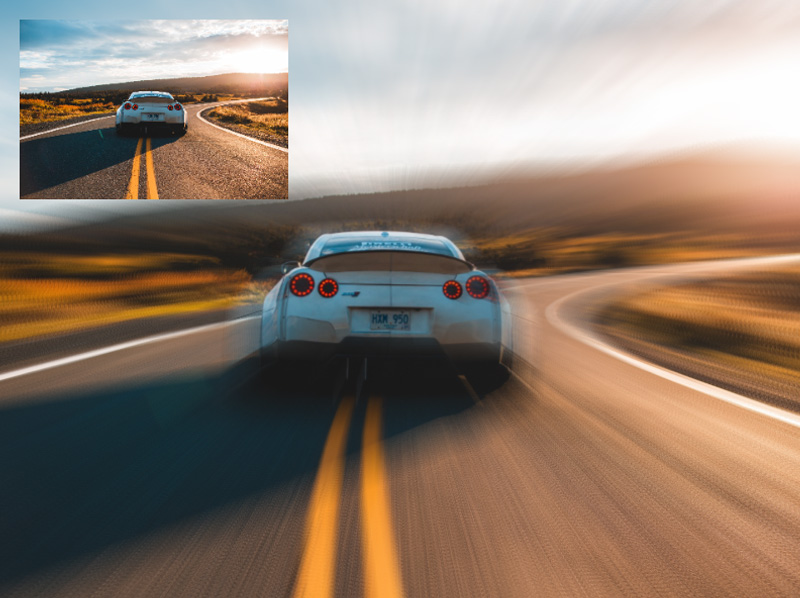
For this zoom blur photo effect, I used the NEW 👑 Zoom Blur filter which is one of our awesome premium filters.
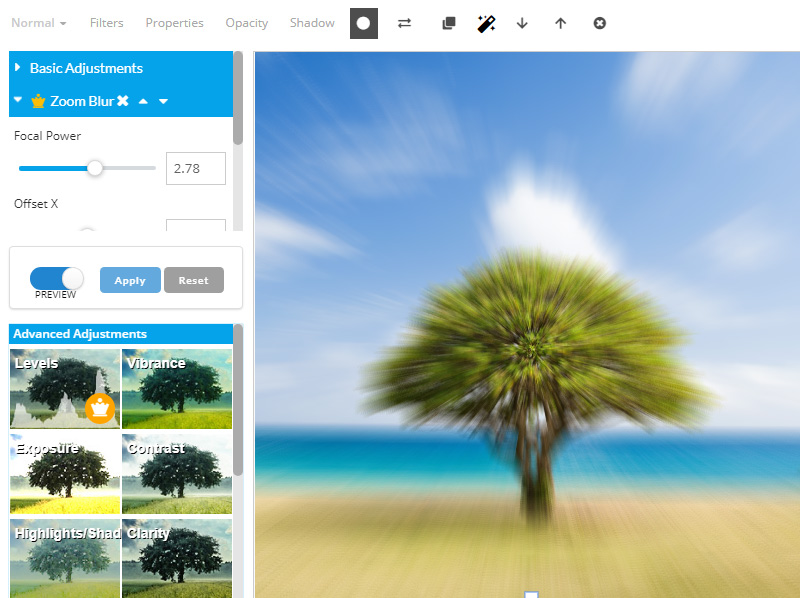
The Zoom Blur is easy to use. You have four parameters to play with.
The Focal Power is the intensity of the blur effect. Edit the Offset X and Offset Y to set the position of the zoom blur effect.
5 Reasons for Blurring the Background in Photos
People often want to blur the background in photos to achieve a shallow depth of field effect, commonly known as bokeh. This technique helps to isolate the subject of the photo by keeping it sharp and in focus while blurring the background, creating a visually appealing and aesthetically pleasing image.
Here are some common scenarios when people may want to blur the background in their photos:
- Portrait Photography: Blurring the background in portrait photos helps to draw attention to the subject’s face and features, creating a more flattering and professional-looking image.
- Product Photography: Blurring the background in product photos helps to emphasize the main subject, such as a product or item for sale, while reducing distractions and enhancing visual appeal.
- Nature and Wildlife Photography: Blurring the background in nature and wildlife photos can help isolate the main subject, such as a flower, animal, or bird, creating a more immersive and captivating image.
- Event Photography: Blurring the background in event photos, such as weddings, parties, or concerts, can help capture candid moments while maintaining focus on the main subjects, such as the bride and groom or performers.
- Street Photography: Blurring the background in street photos can help emphasize the main subject, such as a person or object, while adding depth and dimension to the image.
Overall, blurring the background in photos is a popular technique used mainly to enhance composition, create visual interest, and draw attention to the main subject. The result is a more captivating & engaging image.
Online Photo Effects & AI Photo Editing
The Blur Filter is free and you can try it right now!
The Zoom Blur is a premium filter. We have lots of awesome online photo filters for your images! Go premium 
- Oil Painting Filter
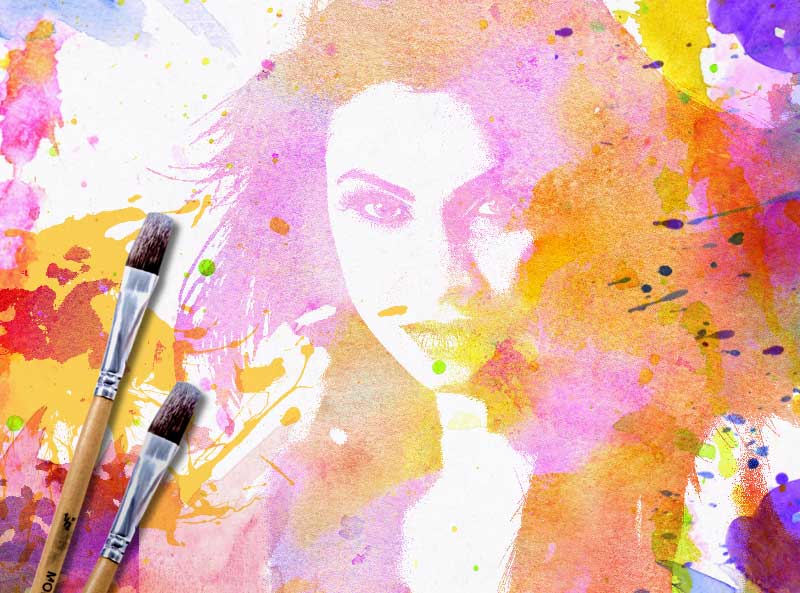
- Watercolor Filter
- Cartoon Filter
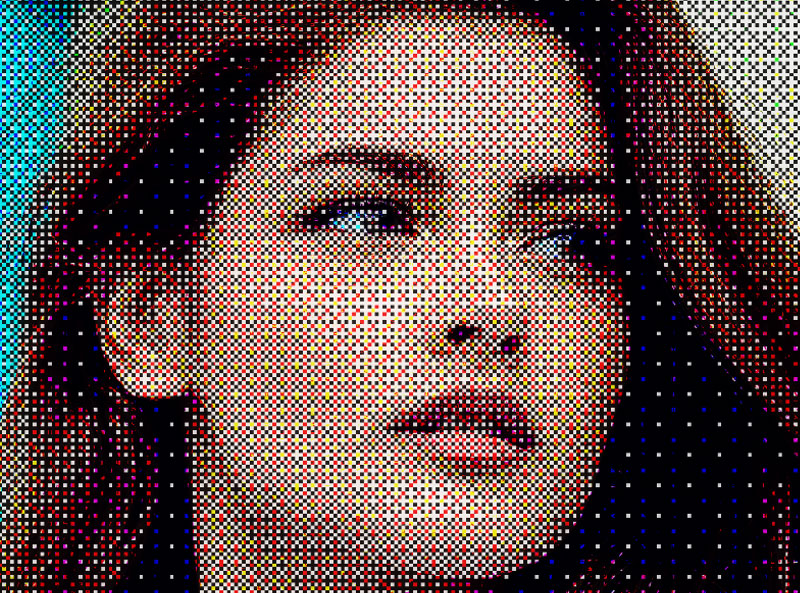
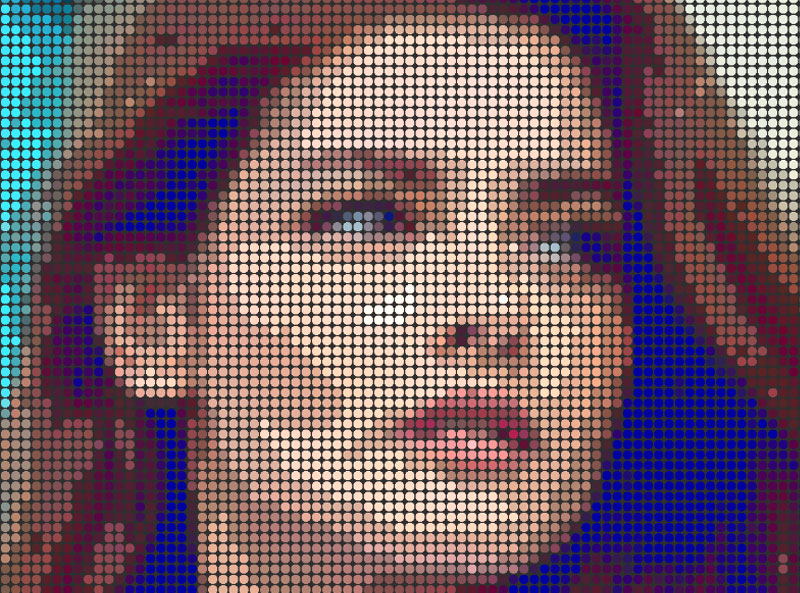
- Pixelate Filter
- Polar Coordinates Filter
- Displace Map Filter
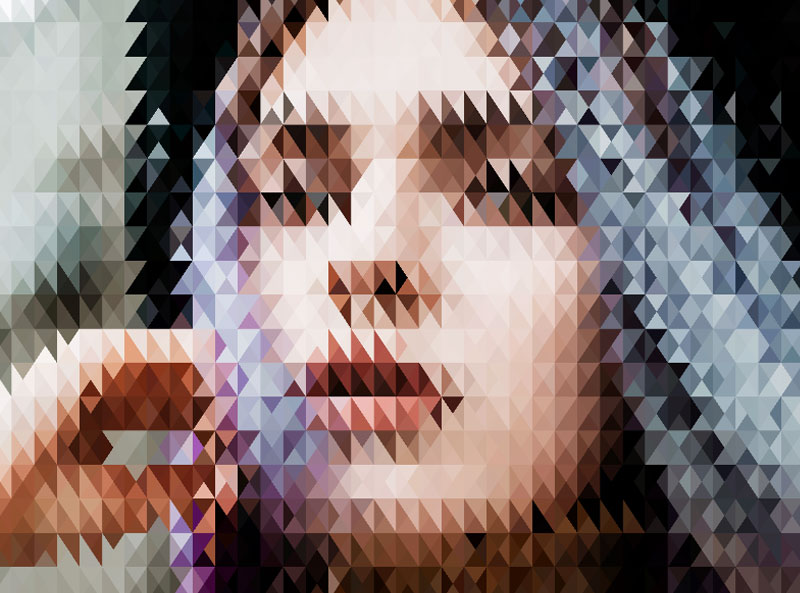
- Triangulate Filter
- Kaleidoscope Filter
Try the NEW AI photo editing and create stunning photo effects in just a few seconds.
In Conclusion
Use MockoFun to blur edges of photo, blur background online, blur photos online or to blur part of an image. Turn your images into beautiful blurry backgrounds using MockoFun.
With this simple blurry photo editor you can do all these online. Of course, you can do much more than blurring photo online. And most of all, MockoFun is free and easy to use!
YOU KNOW IS FUN. IT’S MOCKOFUN.
75% of marketers use visual assets
Unleash your creativity and make awesome designs. You don’t need to be a graphic designer to create something amazing!
Related Tutorials
Learn MockoFun from these quick tutorials for beginners. It’s quite easy!
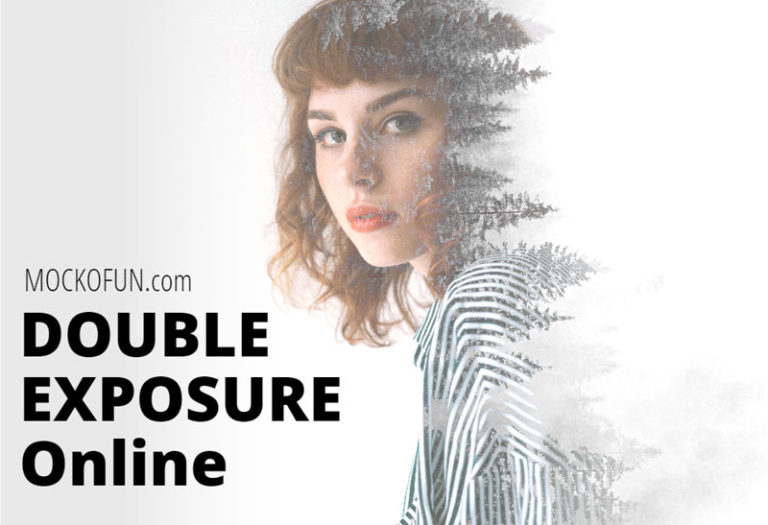
Double Exposure with MockoFun
Create double exposure effect and multiple exposure online with MockoFun. Use two images with Lighten blend mode to create the double exposure.

Make a Circle Image Online
Learn how to make a circle image online with MockoFun. If you want to get really creative, you can also use other shapes to crop pictures into shapes.
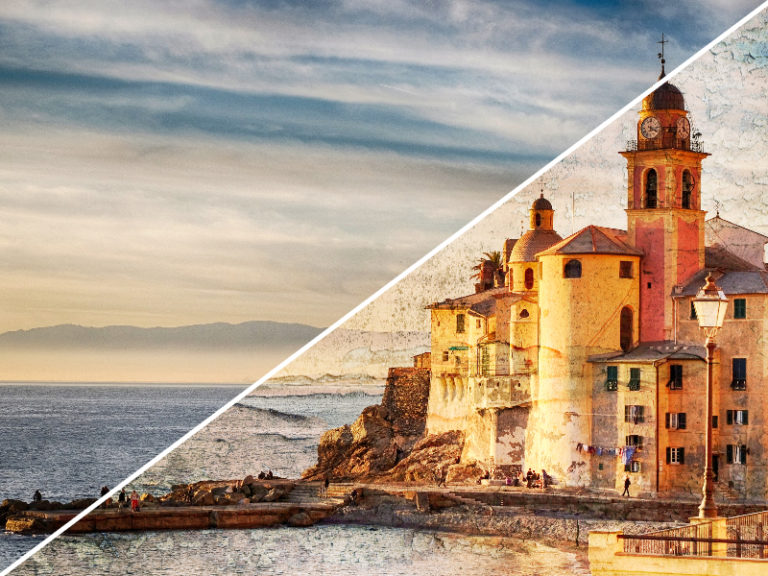
Photo Editing Online
Learn how to edit photos online using basic filters and adjustments. You can use Blending Modes to enhance the effect.

