Double Exposure Effect Online
Use the MockoFun photo editor to create a double exposure effect online! Among the most popular photo effects is the double exposure / multiple exposure effect.
Usually the double exposure is made using Photoshop or Photoshop actions for quick results. But, with MockoFun you can create this effect online.
What is Double Exposure?
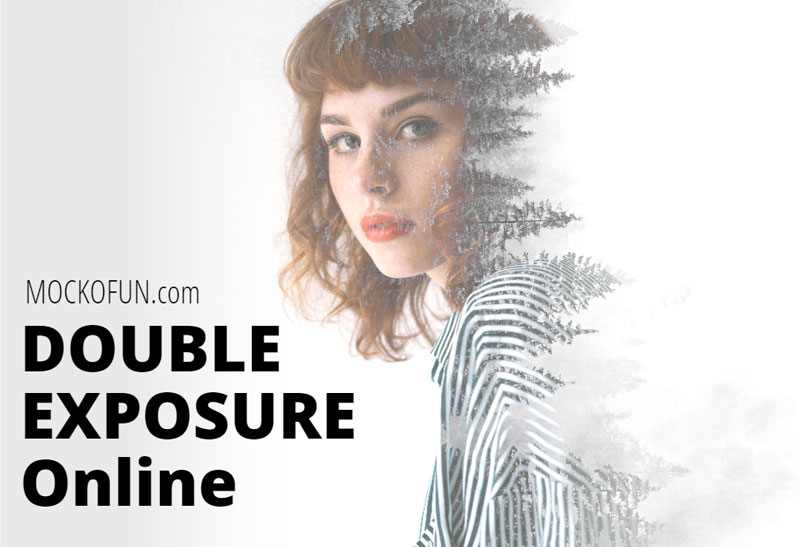
In film photography, a double exposure is a combination of two exposures in one image.
- You can do this effect with a DSLR camera by enabling Multiple Exposure in the shooting menu and manually capturing both exposures.
- You can also make double exposure with a graphic design software (e.g. Photoshop, MockoFun). You will have to use a Clipping Mask and Blending Modes.
A multiple exposure is the superimposition of more exposures to create a single image.
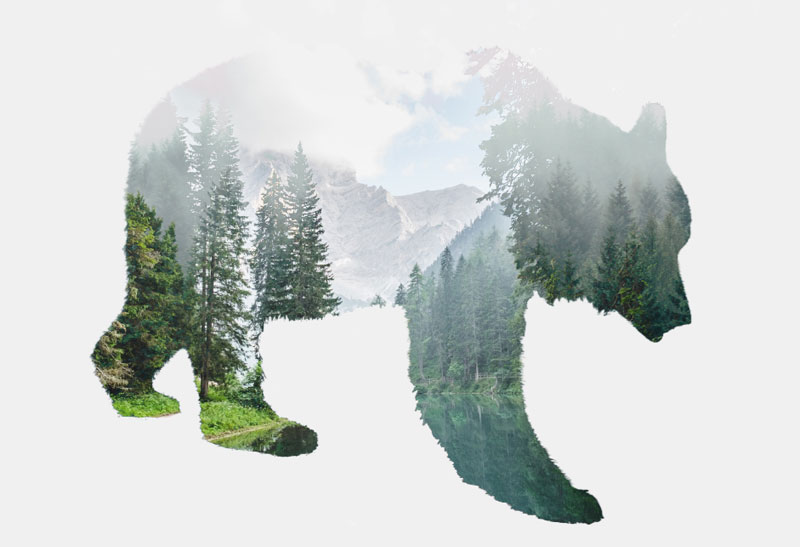
In this easy-to-follow tutorial, learn how to use MockoFun to combine two images and to create a double exposure.
Double Exposure (1)
So, go to MockoFun and create a New document. Set the Background color to a light gray #f0f0f0.
Choose Elements > PNGs from the left menu. Add an image from Characters & People category or from Birds & Animals category. Or, you can choose silhouettes from Elements > Shapes category.
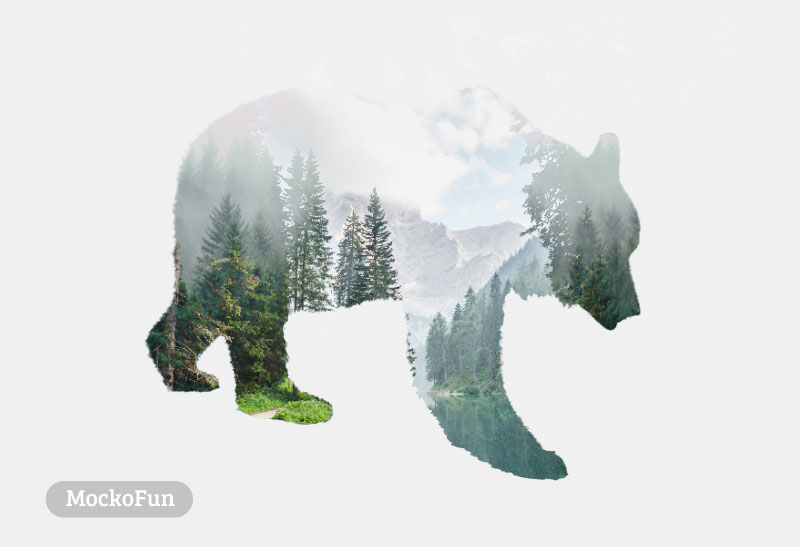
I will use this bear PNG image from Birds & Animals category.
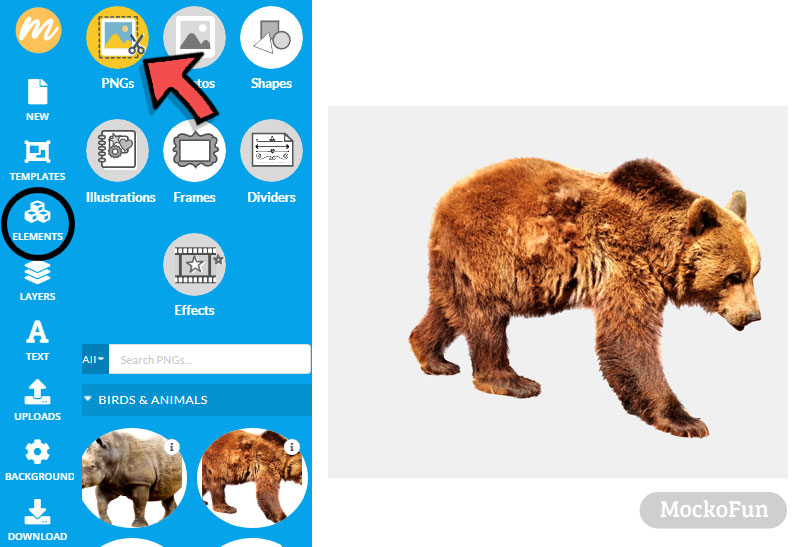
Select the Bear PNG and go to Filters and set the Saturation to -1.

Go to Elements > Photos and search for a photo. I choose a forest image because the bear usually lives in the woods. So, click on the photo to add it.

Create Clipping Mask
Make sure that the Forest image is selected. Then, click on the Mask button and choose another layer as a mask. So, click on the Bear PNG image.
In MockoFun you can use as Mask these types of layers:
- Text
- Vector Shapes & Silhouettes
- Images (JPG, PNG)

Drag and drop the Forest image to move it. Use the corners to resize the image.

Multiple Exposure
You can create a multiple exposure effect if you add another image. This time you can set the blend mode of this new photo to Lighten.

Double Exposure (2)
In my first example I used a silhouette or a cutout image to create the double exposure effect.
This time I will use two photos. To pick the photos, go to Elements > Photos and search “woman portrait” for example.
Images with light or even white background are a good choice for the first image.
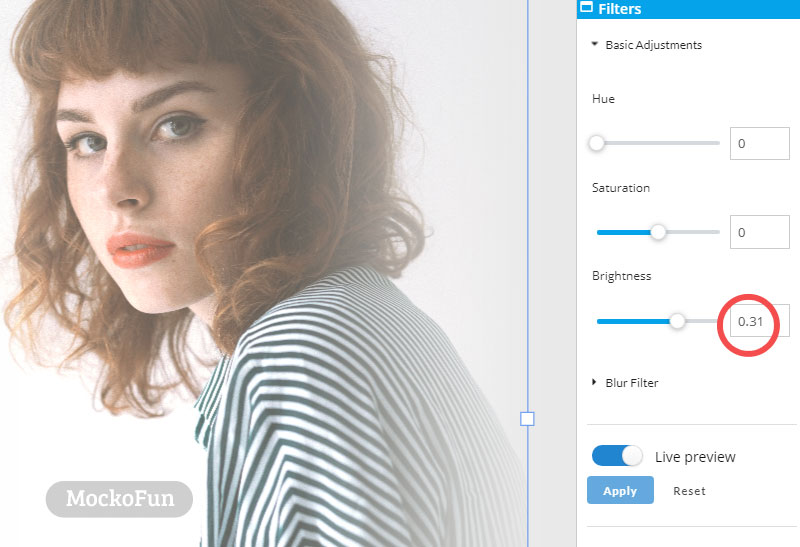
Add a second image over the first one and set the blend mode to Lighten. What is Lighten blend mode?
The Lighten Blending Mode takes a look at the base color and blend color like this: it keeps whichever one of the two colors is the lightest. If the blend colors and the base colors are the same, then no change is applied.
Now, go to Filters and set the Brightness to -0.15.
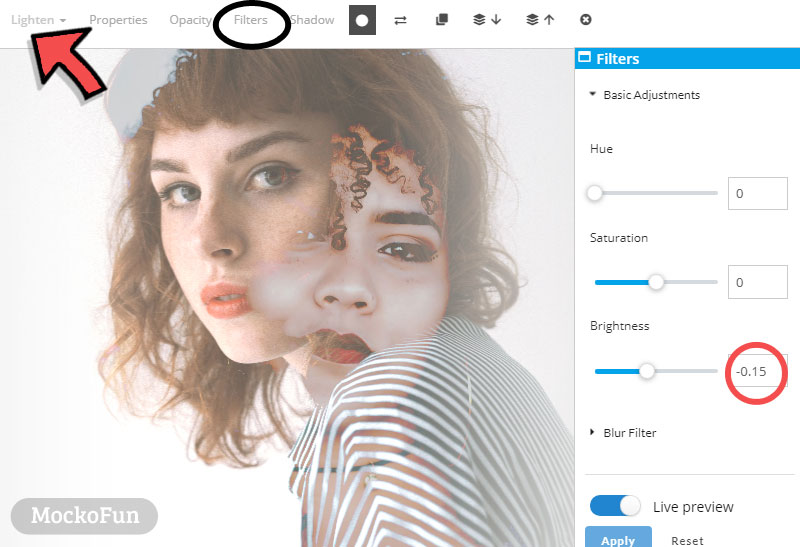
For other photos you have to make other settings (Brightness, Saturation, etc)
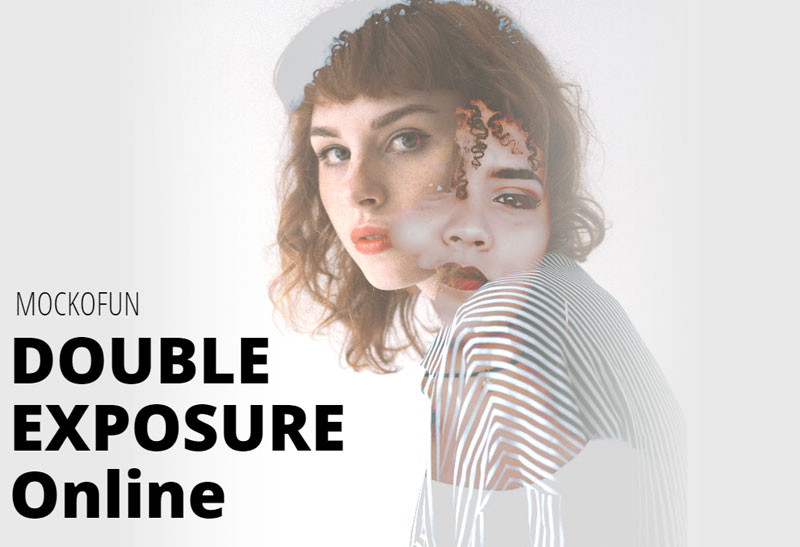
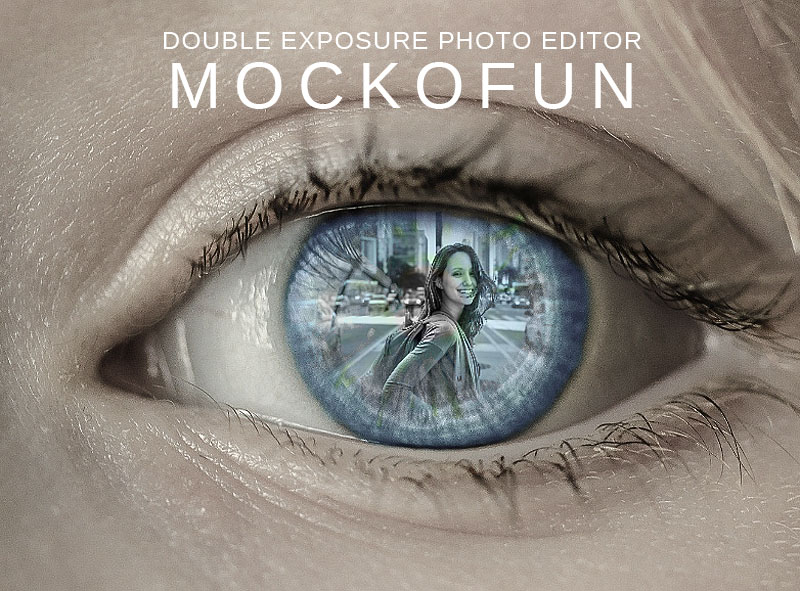
I used the double exposure photo editor to make this free double exposure template that you can edit online. You can replace the image inside the eye with your own image.
Upload your photo online using the Upload option. Then, click on the Replace Object button to change the photo with your own.
In Conclusion
MockoFun is a great photo editor that you ca use for free! To create double exposure you don’t need Photoshop. With MockoFun you can create the double exposure effect online. And most of all it’s free and easy to use. So, have fun with MockoFun!
YOU KNOW IS FUN. IT’S MOCKOFUN.
75% of marketers use visual assets
Unleash your creativity and make awesome designs. You don’t need to be a graphic designer to create something amazing!
Related Tutorials
Learn MockoFun from these quick tutorials for beginners. It’s quite easy!
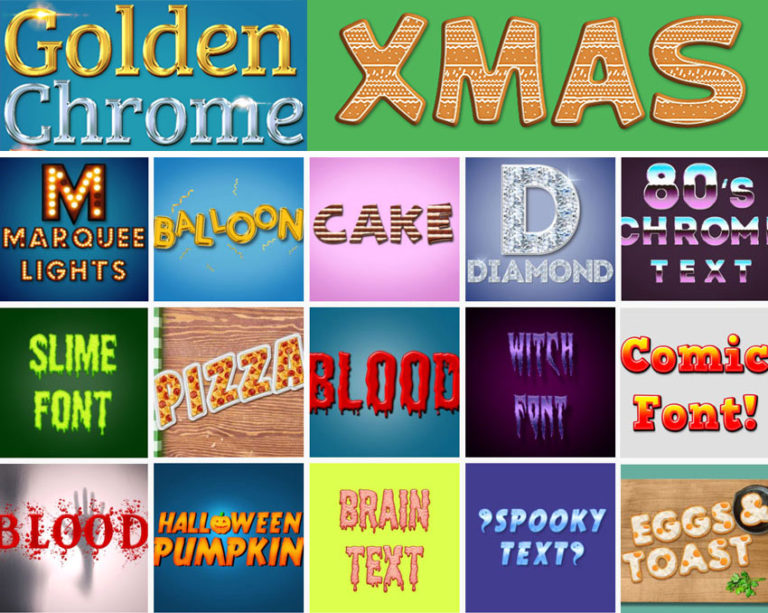
Online Text Effects
Create awesome text effects online using MockoFun. You can choose from 100 text styles and alphabet letters.
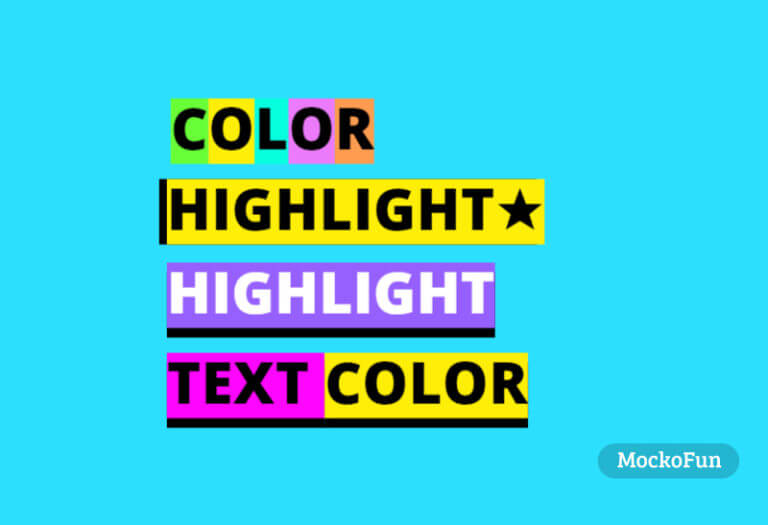
Highlight Text Online
You can add background to text using MockoFun. You can easily highlight text online.
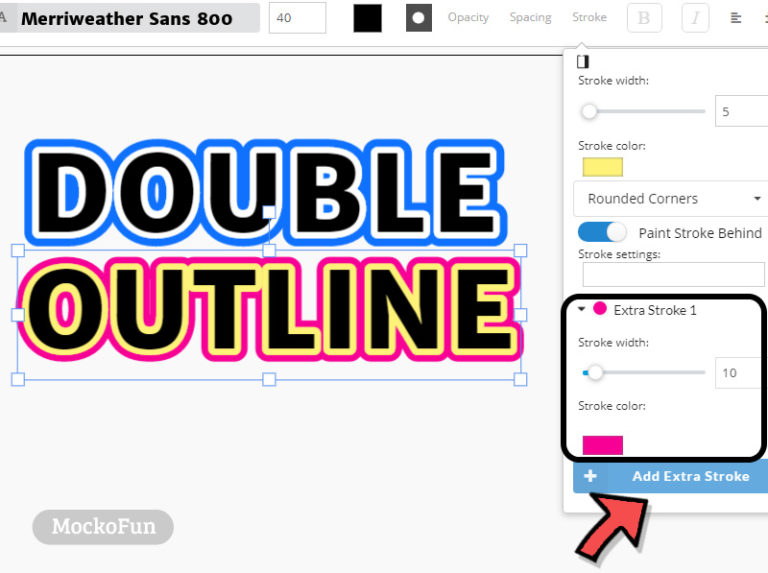
Stroke Text Online
With MockoFun you can stroke text easily. Add outline to text in just a few easy steps.

